GROWING ATLANTIC GIANT PUMPKINS
Whether you are a current grower or a newcomer, all the information you need to grow your own GIANT pumpkin or to become a Port Elgin Pumpkinfest Grower is contained in this area of the website.
Click here to download a simple two-page "how-to" to help you grow a giant pumpkin and don't forget to visit our seed inventory to find that special seed to grow you that big one!
The Giant Vegetable Growers of Ontario have valuable information and tips on their website.
How to Grow a Giant Pumpkin!
1. Prepare soil by adding mixture of manure, peat moss, granular fertilizer and compost (leaves, grass, fruit, vegetable peelings, coffee grounds, etc). Rotor-till into soil and keep soil as loose as possible. Ensure you have lots of earthworms to process the decaying material and provide valuable nutrients for the plants. Ideal ph is between 6.5 and 7.2.
2. Start of May, file edges of seed, except for the pointed end, with a nail file or fine sandpaper and then soak in water overnight. Wrap in damp paper towel and place in plastic bag in warm place (at least 26° C). This process is called germination.
3. Once seed starts to split and you can see root emerge (in about 24-48 hours), plant them in 4" pots (equal mixture vermiculite, perlite, peat moss). Fertilize with 10-52-10 when transplanting. Place pots in a heat tray at 21-23°C. A fluorescent light placed a few inches above the pot will help your seedling 'green-up' faster and prevent the stem from getting 'leggy'. The 'seed leaves' will appear first and then the first "true leaf' will appear in the centre. If roots start outgrowing pot, and the weather is uncooperative to transplant directly outdoors, transplant into 12" pots lined with old grocery bags with holes in bottom (will help with later transplants). Again fertilize with 10-52-10 to prevent shock.
4. Pumpkins like full all-day sun, good well drained soil, and lots of room to grow.
5. Around May 20th, plant outside in garden under mini greenhouses or hoophouses to keep warm. Place plant and bag in hole in ground and tear away bag. Place the seedling in the ground up to the bottom of the seed leaves, insuring that the first true leaf, the one in the middle, is facing the opposite direction that you want your main vine to run. The soil temperature should be kept over 22°C. A small candle in a sand-filled jar will keep the temperature even on a chilly night. Transplant with 10-52-10 to gets roots well established.
6. June 1st, switch to an all purpose fertilizer 20-20-20 every 10-14 days. For large plants feed up to 100L per plant. When the air temperature rises about 23°C the greenhouses can be removed but remember to protect the plant whenever there is the threat of cool temperatures, especially overnight.
7. As your vine grows, it will sprout secondary vines. These vines should be nurtured as the mine vine is, however, off these secondaries will grow tertiary vines (sucker vines). These vines rob the plant of valuable nutrients and should be pinched off when they appear. Lay the vines out in a 'Christmas Tree' pattern (main vine as the 'trunk 'and secondary vines as the 'branches') so they can be maintained and excess sucker vines can be pruned off. This also gives room for weeding and feeding. Weed until the pumpkins are big enough to crowd out competition.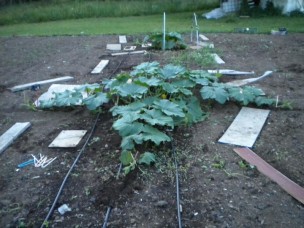
8. Begin to watch for insect problems. The cucumber beetles are small yellow and black striped beetles which eat leaves. The vine borer tunnels into the vines and saps the energy out of the plant. Sometimes aphids will attack the underside of the leaves. There are many insecticides and organic sprays available to control these situations.
9. Pumpkins produce both male and female flowers. Males have longer stems and females have a short stem with a bulb (or baby pumpkin) under the blossom. The males will be the first to show and will be followed by the females about a week or so after.
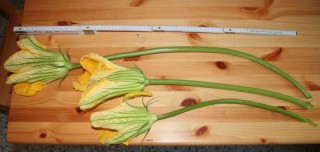
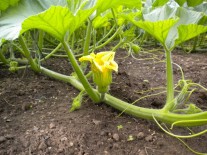
10. July 1st-20th – watch for male and female flowers, cover these flowers with plastic baggies and when female opens (only for a couple of hours one day), pollinate the female by cutting male flowers from the plant and gently rubbing the pollen all over the segments in the female flower. (Re-cover to stop insect cross pollination). If you only have one plant and are not concerned about preserving the lineage of your pumpkin's genetic line, you can let the bees do this work for you.
11. When a pumpkin has reached the size of a basketball, choose the best pumpkin on main vine and remove all other pumpkins and flowers. This ensures the plant feeds just one pumpkin and allows it to grow into a giant. It will grow very fast and can grow up to 22.5 kg a day at peak growth.
12. As it grows, bury vines to encourage roots along the vine. Prune off sucker vines. Keep feeding and watering.
13. Protect your pumpkin with large 6'x 6' shelter and slope the roof so no water drips on it. Protect pumpkin from the wind.
14. Mid-August – the main vine should be allowed to grow to a minimum of 15', secondaries should grow to a minimum of 8'. After these lengths have been reached and when the vines reach the perimeter of the patch, pinch off the very end of the new growth and bury the ends of the vines. Cover pumpkins on cool nights. Many growers are now using natural products to feed their pumpkins (fish/seaweed liquids, molasses etc)
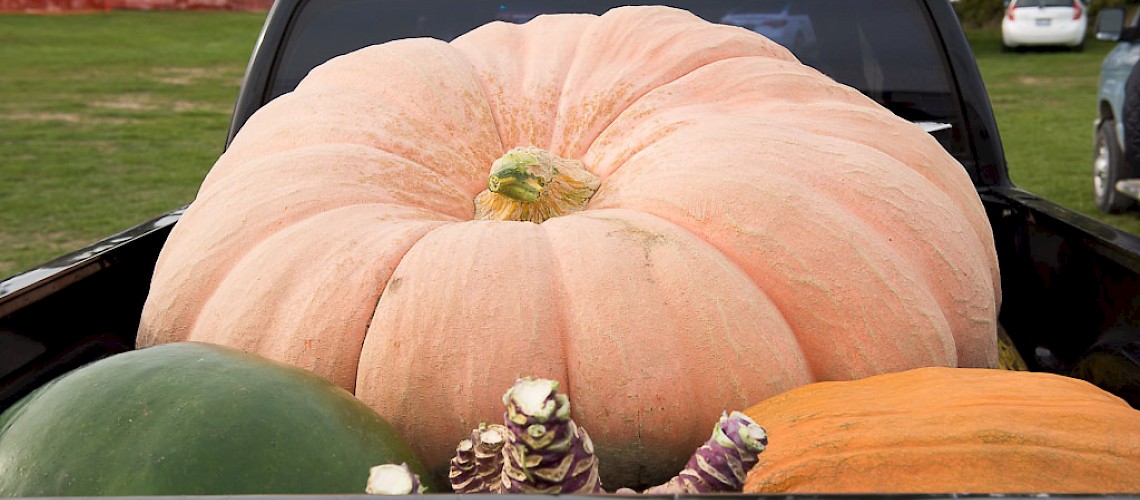
15. September should bring you a pumpkin over 600 pounds, so time to look into attending Port Elgin Pumpkinfest!
Remember it is only 125-150 days from seed to harvest, so don't start too soon.
Good luck growing!
These video links are a great resource if you are serious about growing the big one!

